Many businesses still use a lot of manual entry in their industrial processes.
This is despite the fact that it is commonly known and accepted that it is a slow and labor-intensive process and there are always human errors related to manual data entry - Human errors are natural.
It is commonly accepted that the typical error rate in manual data entry is about 1 %.
What does this 1 % mean in practice in calibration processes, and how can you make it smaller, or even get rid of it?
This article mainly focuses on industrial calibration processes and the manual data entry related to these processes.
Table of content
- Common manual data entry steps in calibration processes
- What about the 1 % typical error rate?
- Calibration processes
- Significant or insignificant error?
- Unintentional or intentional error?
- Would this error rate be accepted in other situations?
- There has to be a better way!
- There is a better way – the Beamex way!
- Related blogs
Download a pdf version of this article!
Common manual data entry steps in calibration processes
To start with, let’s take a look at the common ways in which data is handled in industrial calibration processes:
1. Pen & paper
It is still very common that calibration data is captured in the field by writing it on a paper form during the calibration process. Later on, back in the workshop, the calibration data from the paper is manually typed into a computerized system, in some cases by another person.
So with this very common process the calibration data is entered manually twice: first with pen and paper and later when it is typed into the system.
2. Manual entry into a calibration system
Another common way is to document the calibration data by typing it into a computer system, using spreadsheet software like Microsoft Excel or dedicated calibration software. If you want to type straight into a software program you need to carry a laptop in the field and you need to be connected to a network, which is not always possible in industrial environments.
If it is not possible to enter the data straight into the calibration application using a computer, it may in some cases be entered on a mobile device with a relevant application and then later electronically transferred into the calibration software.
In this process the data is still entered manually, although only once, not twice like in the previous process.
3. Electronic storing of data
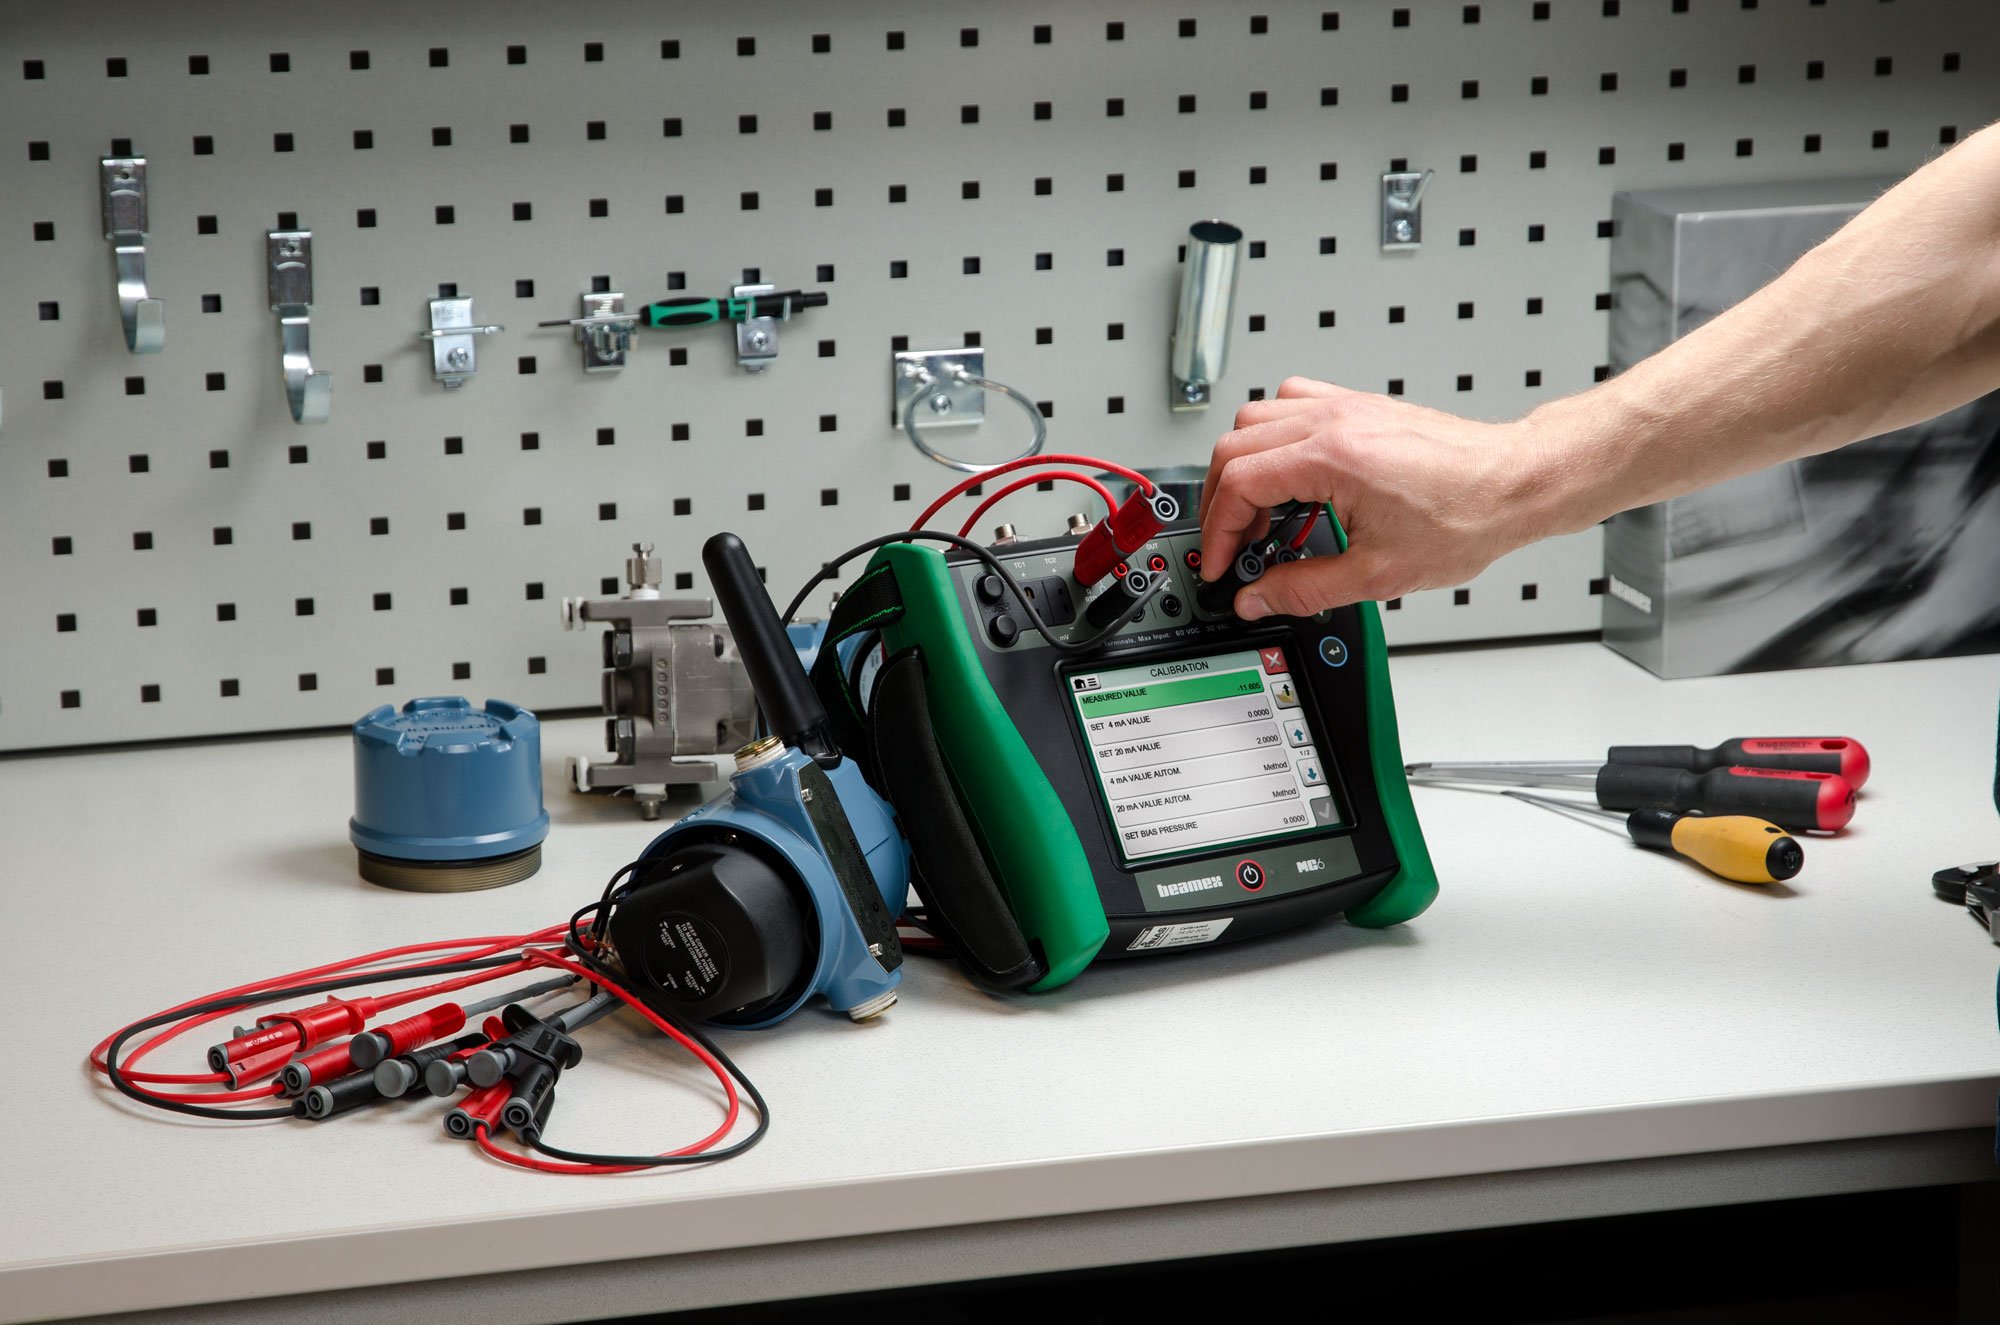
The most modern way is to use calibration equipment that can store the calibration data in its memory fully electronically. The calibration data can then be transferred from the calibrator’s memory into the calibration software, again fully electronically.
This kind of process does not include any manual data entry steps. This eliminates all the human error and is also faster as it does not consume the engineer’s time.
This process works only for calibrations where the calibration equipment can measure (or generate/simulate) instrument input and output. If there are any gauges, indicators, displays, or similar that need to be read visually, some form of manual data entry is needed.
But even if some of the calibration data is manually entered into the calibrator, the calibrator may have a feature to check that the data is within accepted values and may also have an informative graphical indication of the data quality for easy verification.
The calibration data is then sent electronically from the calibrator to the calibration system.

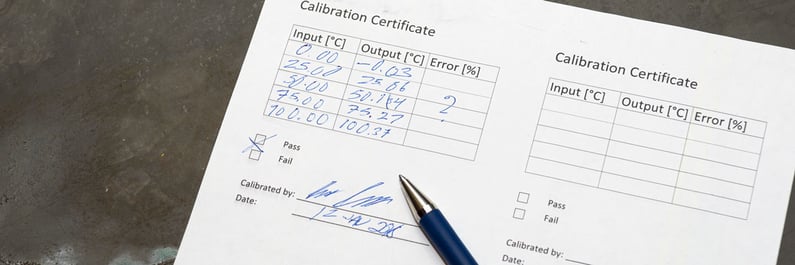
On the above picture, the left side shows an example where the calibration data has been entered manually on a paper form. Possibly some numbers have been entered incorrectly, it is difficult to read some of them, manual error calculation is difficult, is that tick a pass or a fail, who signed that, and so on.
On the right side you can see the same calibration with a Beamex MC6 documenting calibrator. All calibration data is stored automatically and electronically in the calibrator's memory, errors are calculated automatically, pass/fail decision is done automatically, the results are sent electronically to calibration software for storing and certificate printing.
Which one delivers more reliable calibration data?
(well, that was not really a questions, it is the MC6 calibrator of course)
What about the 1 % typical error rate?
It is obvious that there are errors in manual data entry. It seems to be a commonly accepted rule that in manual data entry, human errors will cause a 1 % average error rate.
This error rate is based research published on several articles, but I must admit that I don’t know the scientific background for it. We can argue about what the real error rate is, but we can all agree that there are always errors in manual data entry.
After reading about this 1 % error rate in a few places, it got me thinking about what this means for calibration processes. So, let’s stick with that 1 % average error rate in the following considerations.
The error rate can grow quickly if the data to be entered is complicated, if the user is tired or in a hurry, and for many other reasons. For example, some people may have “personal” handwriting (I know I do), which is difficult for others to read.
To reduce errors, companies can train employees, highlight accuracy over speed, double-check the work, ensure optimal working conditions, and naturally try to automate their processes and get rid of manual data entry.
Calibration processes
Calibration data includes a lot of numbers, often with many decimals. The numbers also typically fluctuate up and down with the decimals changing all the time. Very rarely is calibration data an easy to enter “even” number (20 mA is more likely to be 20.012 mA). This makes it challenging to manually enter the data correctly.
When calibrating a process instrument, for example a transmitter, the input and output data should be captured at the same time, which is difficult. If the values are drifting, additional error will be introduced if the numbers are not recorded at the same time.
In a process instrument calibration, there are typically five calibration points (25 % steps with 0 %, 25 %, 50 %, 75 % and 100 % points), and both input and output are to be recorded. This already makes 10 calibration data points. Other data also needs to be entered during the calibration, such as the reference standards used, environmental data, date, time, signature, etc.
On average we can say that 20 data points need to be entered during the calibration process. With a 1 % error rate, this means that every fifth calibration will include faulty data.
Every fifth calibration? Why is that? Because if one calibration includes 20 data points then five calibrations include 100 data points. A 1 % error rate means that data is entered incorrectly once in every 100 data points entered. So, every fifth calibration will include a faulty data entry. Every fifth calibration means that 20 % of the calibrations performed will be faulty, each including one faulty data point on average.
The above is true if the data is entered manually only once. But as discussed earlier, often the data is entered manually twice, first on paper in the field and then when it is transferred from the paper to the system in the workshop. This means that there are double the number of data entry points, with one calibration event having 40 data points instead of 20 to be entered. This means that statistically, 40 % of the calibrations made will include a faulty data entry!
Wow, so the modest-sounding 1 % error rate in manual data entry means that often 40 % of calibrations will include faulty data in practice.
To repeat: The 1 % error rate just turned into 40 %!
So, this means almost half of these calibrations will include faulty data. Well, not quite half, but 40 %; I exaggerated a little there, you got me, but it is pretty close to half.
If you do manual calibration data entry using the two-phase system, about 40 % of your calibration records will most likely have errors. Let that sink in for a while.
... a short pause for sinking... :-)
In a typical process site that performs 10,000 calibrations annually, all manually entered using the two-phase data entry process, statistically they will have 4,000 calibrations with faulty data!
Wow, that escalated quickly!
Naturally, the calibration process may be way more complicated and may contain many more data points.
If a calibration process of an instrument includes 100 data points and the results are manually recorded, a 1 % error rate means that statistically every calibration includes one faulty data entry! So statistically, 100 % of the calibrations include faulty data point!
Significant or insignificant error?
The significance of error varies according to the situation.
If the manually entered calibration data is wildly inaccurate it is likely going to be noticed at some point. For example, if the nominal 4 mA zero point of a transmitter is entered as 40.02 mA (wrong decimal point) that will most likely be noticed at some point, at the latest when the data is entered into the calibration system, assuming the system gives a warning when the error is too big.
But what to do then? Do you consider that it is ok to move the decimal and assume it is then correct, or does the calibration need to be repeated – which means going back to field and doing the calibration again.
If the error is small enough, it may not be noticed anywhere in the process. Using the previous example, if the transmitter’s zero point is erroneously recorded as 4.02 mA when it was actually 4.20 mA, that error may not be noticed at all. Even if the transmitter’s current of 4.20 mA would be out of tolerance, which should be noticed and corrective actions taken, it will not be noticed because the erroneously entered 4.02 mA is a good enough reading and the calibration will pass without any further action. This leaves the transmitter in the process continuously measuring with a too-large error.
So, in the worst-case scenario, human error in manual data entry will lead to a situation where a faulty calibration is considered being passed!
Unintentional or intentional error?
Most human errors in manual data entry are naturally unintentional.
It is anyhow not totally impossible that sometimes the calibration data would be intentionally entered incorrectly. Manual data entry gives the opportunity to falsify results, and it is almost impossible to stop that.
If the results are on the limits of being a pass or fail, it is possible that in some cases the data is entered so that it is a pass. Maybe a fail result would cause a lot of extra work, and maybe it is already late in the afternoon and time to go home.
If you see for example a pressure transmitter calibration certificate with a pressure reading of 10.000 psi (or bar) and a current reading of 20.000 mA, it is probably too good to be true.
I apologize for bringing up this kind of possibility, but this kind of information may be found in some publicly available audit reports. This is also something the US FDA (Food and Drug Administration) pays attention to when auditing the pharmaceutical industry.
But let’s assume that the errors are unintentional human errors.
Manual data entry is still being used in surprisingly many calibration processes, even in highly regulated industries such as the pharmaceutical and food and beverage industries, nuclear power, and many others.
When entering data manually on a paper form, the paper form will not automatically alert the user if the entered data is outside of accepted tolerances. It is up to the user to notice it. The calibration system often has an alarm if the entered data is outside of accepted tolerances. At that point the calibration is already done, and it needs to be redone.
Would this error rate be accepted in other situations?
If we use manual data entry in our calibration processes and accept the risk of error that comes with it, would we accept the same error rate in other applications?
Would we accept that our salaries don’t always come on time or are wrong? Or that our credit card repayments have a big error rate?
Obviously, these applications rely on electronic not manual data entry.
In most applications we would simply not accept the kind of error rate that comes with manual data entry. But like I said, many people still accept it in their calibration data entry process.
This article has about 15,000 characters, so with manual writing there would be about 150 errors (with a 1 % error rate). Well, frankly with me writing, there would be a lot more:-)
But luckily, we can use computer with spellchecking and the text is also proofread by colleagues. But I am sure there are still some errors. In this text the errors don’t have serious consequences as they do with calibration data.
At the same time, industry is moving fast towards the world of digitalization, where data is more important than ever and decisions are based on the data. We should also take a good look at the quality and integrity of the data!
To download this article as a free pdf file, please click the image below:
There has to be a better way!
What if you could avoid all human errors related to manual calibration data entry?
What if you could even avoid the intentional errors?
What if, at the same time, you could make the data entry process much faster, saving time?
What, you may ask, would be the cost for such a system? Can you afford it?
In return I would ask what are the costs of all the errors in your calibration data? What would be the value of such a system to you? Can you afford to be without it?
There has to be a better way.
There is a better way – the Beamex way!
So, what about the Beamex way? What is it?
With the Beamex integrated calibration solution, you can replace manually entering calibration data with the most highly automated calibration data collection on the market.
In a nutshell, the Beamex system comprises calibration software, documenting calibrators, and mobile data-entry devices communicating seamlessly. Also, the calibration software can be integrated with your maintenance management system (CMMS) to enable a paperless automated flow of calibration work orders from the CMMS to the calibration software and acknowledgement of the work done from the calibration software to the CMMS.
It all starts from you planning the work in the CMMS or the calibration software. When it is time to perform the calibration the work orders are synchronized to documenting calibrators or to mobile devices (phones or tablets).
In the field, when you do the calibration the calibration data is stored automatically in the documenting calibrator or manually entered on a mobile device.
If you work in highly regulated environment, mobile devices can be provided with additional data security functions to ensure the integrity of the data. The Beamex calibration solution fulfills the requirements of 21 CFR Part 11 and other relevant regulations for electronic records, electronic signatures, and data integrity.
This lowers the risk of ALCOA (data integrity) violations by identifying those using offline mobile devices by their electronic signature and by protecting the offline data against tampering, eliminating the possibility to falsify calibration records.
From the mobile devices, the calibration data can be synchronized back to the calibration software for storage, analysis, and certificate generation.
The calibration software can also send an automatic notification to the CMMS when the work is done.
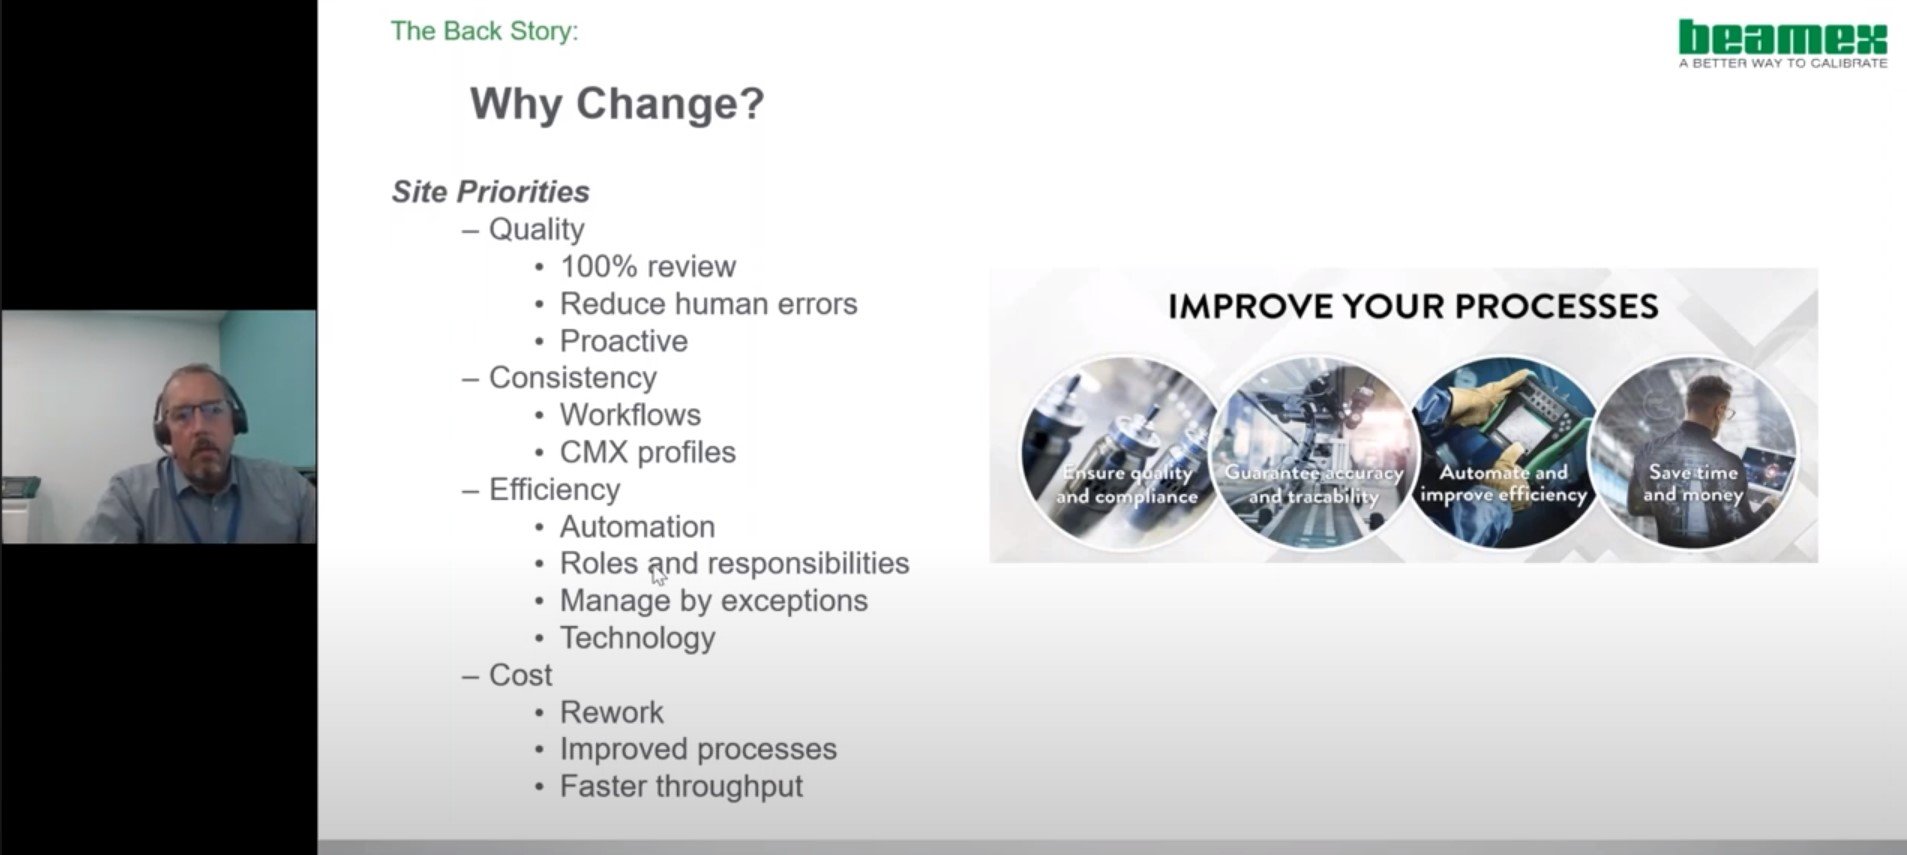
Here's a short video on how the Beamex integrated calibration system works:
Learn more about Beamex products and services on our website or contact your local Beamex representative:
Download your copy of the Calibration Essentials Software eBook, to learn more about calibration management and software.
Related blogs
If you found this article interesting, you might also like these articles:
- CMMS and calibration management integration - Bridging the gap
- Why use calibration software?
- How a business analyst connected calibration and asset management [Case Story]
- Do more with less and generate ROI with an Integrated Calibration Solution
- Common Data Integrity Pitfalls in Calibration Processes
- What is a documenting calibrator and how do you benefit from using one?







.png)




.jpg)

Discussion