
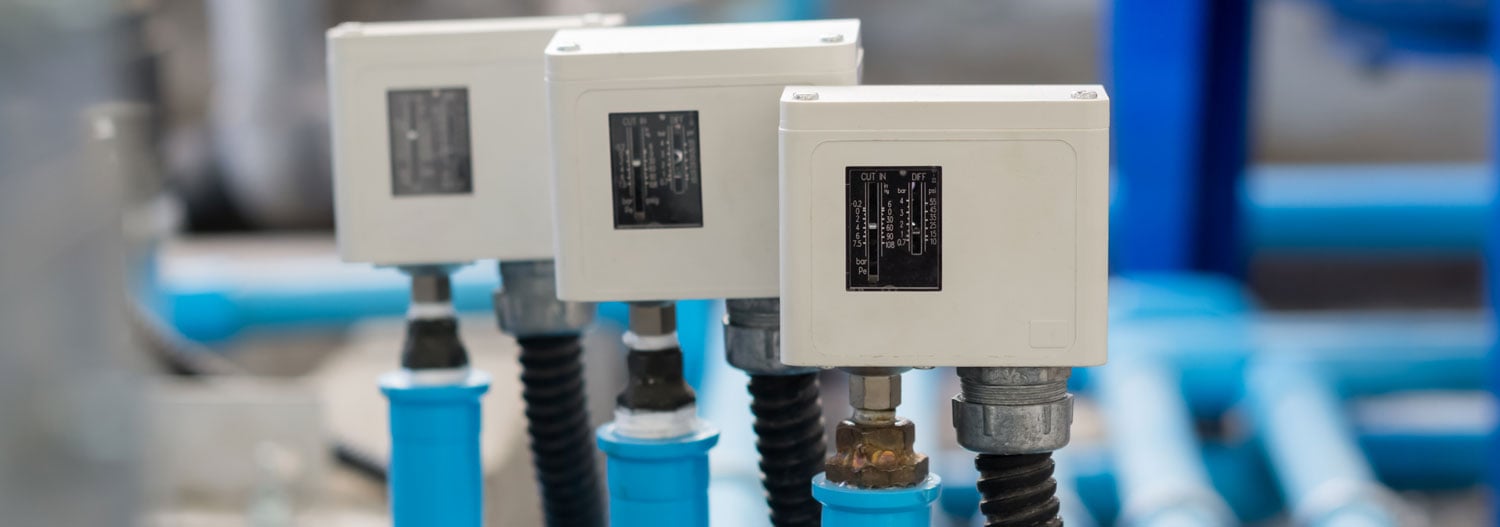
Pressure switches are very common instruments in the process industry, and various kinds of pressure switches are available. Like many instruments, pressure switches need to be calibrated to ensure their accuracy and reliability. Switches are a bit more difficult to calibrate than transmitters. The wrong kind of calibration can cause many errors in the calibration result. In this article, we will look at how to properly calibrate pressure switches.
Before rushing into the calibration process, let's discuss some fundamental characteristics and terminology of pressure switches.

How does a pressure switch work?
Briefly stated, a pressure switch is an instrument that measures pressure and that has an electrical switch function programmed to operate at a certain pressure.
For example, it can be set so that when no pressure is connected (open to atmosphere) the switch is closed, but when pressure increases up to 10 psi, the switch opens. Again, when the pressure drops below 10 psi, the switch closes.
Pressure switch terminology
Let’s first very briefly discuss the related terminology;
Normally open / Normally closed
Some switches have the switch terminals open when no pressure is connected, called normally-open (NO) or a closing switch. The opposite is normally-closed (NC) or opening switch. The selection depends what kind do of circuit you want to drive with the switch.
What is "normally"? There is some debate about the definition of the normally open/closed switch. Most commonly it is defined as the state where the pressure switch output is when it's not connected to any pressure, i.e. it has no physical stimulation.
Others may define the “normal” state as the state where the switch is during the normal operation of the process (un-tripped).
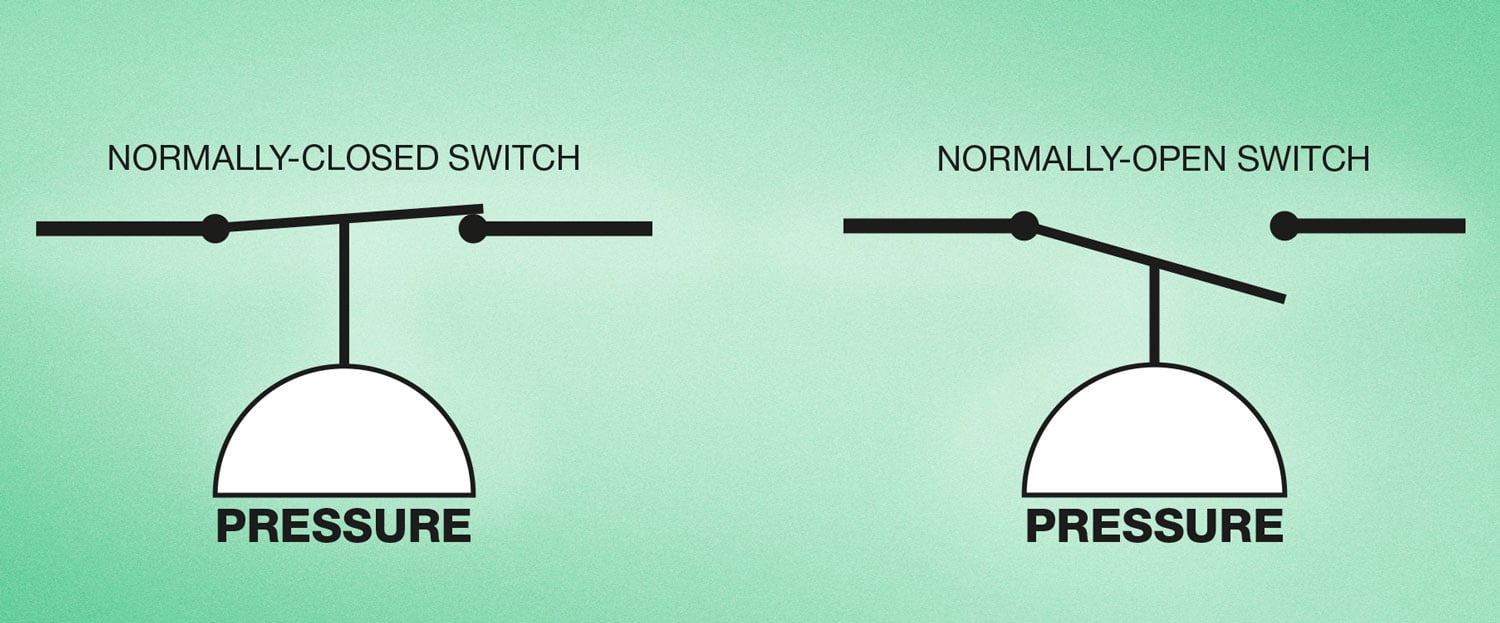
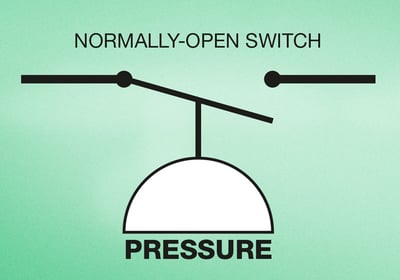
A normally-open switch is open when no pressure is connected. When enough pressure is applied, the switch closes:
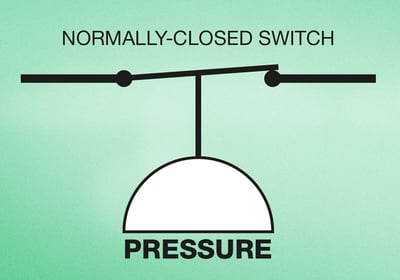
A normally-closed switch is closed when no pressure is connected. When enough pressure is applied, the switch opens:
A switch will always have some deadband, which is the difference between the two operating points (opening and closing points). Deadband is required, because if a switch would open and close at the same point, it could start oscillating when the pressure is on that limit. Also, it could control the circuit on and off with a high frequency if there was no deadband. For example, a closing (NO) pressure switch may close at 10 psi pressure and open again at 9.5 psi pressure, so there is a 0.5 psi deadband.
Some switches operate at rising pressure, others with falling pressure. Sure, you always get one of the functions with rising and other with falling, but the primary desired function happens in one direction.
There are pressure switches that operate with different pressure types: gauge, absolute, differential or vacuum pressure.
Some older switches are mechanical (or even pneumatic), so inside the switch the pressure is causing the switch to change its state. Most newer types are electronic or digital, so they measure the pressure and control the switch output accordingly. Many modern switches are programmable, so it is easy to set the desired operating points. While mechanical switches don’t need any power supply, the electrical ones need to have one.
When selecting the switch type, the state should be considered so that should the power supply fail, or a cable becomes loose, the switch status should remain safe. And in the case of a safety switch, it should be configured so that in case a cable comes loose, the alarm goes on. For example, if it is a normally-open (closing switch), you won't notice anything if the cable comes loose, the switch is still open, but it won't make the desired action when the switch closes. So all in all, you should design it to be Fail Safe.
We also talk about dry and wet switches. A dry switch has the connections being open or closed, so it is working like a mechanical switch. A wet switch has two different voltage values representing the two output states.
The output of an electrical wet switch can be a voltage signal with two levels, a current signal, or an open collector type signal.
Sometimes the switch function can be also done in the control system, by measuring the current signal from a transmitter and programming the switch-like function to control something based on the signal level.
In practice, industrial switches often have double switch contacts that can be programmed separately. This can be the normal Lo and Hi points, but also “Lo Lo” and “Hi Hi” points. While the Lo and Hi are the normal control points, the Lo Lo and Hi Hi are alarm limits that will control for more serious alarm activities.
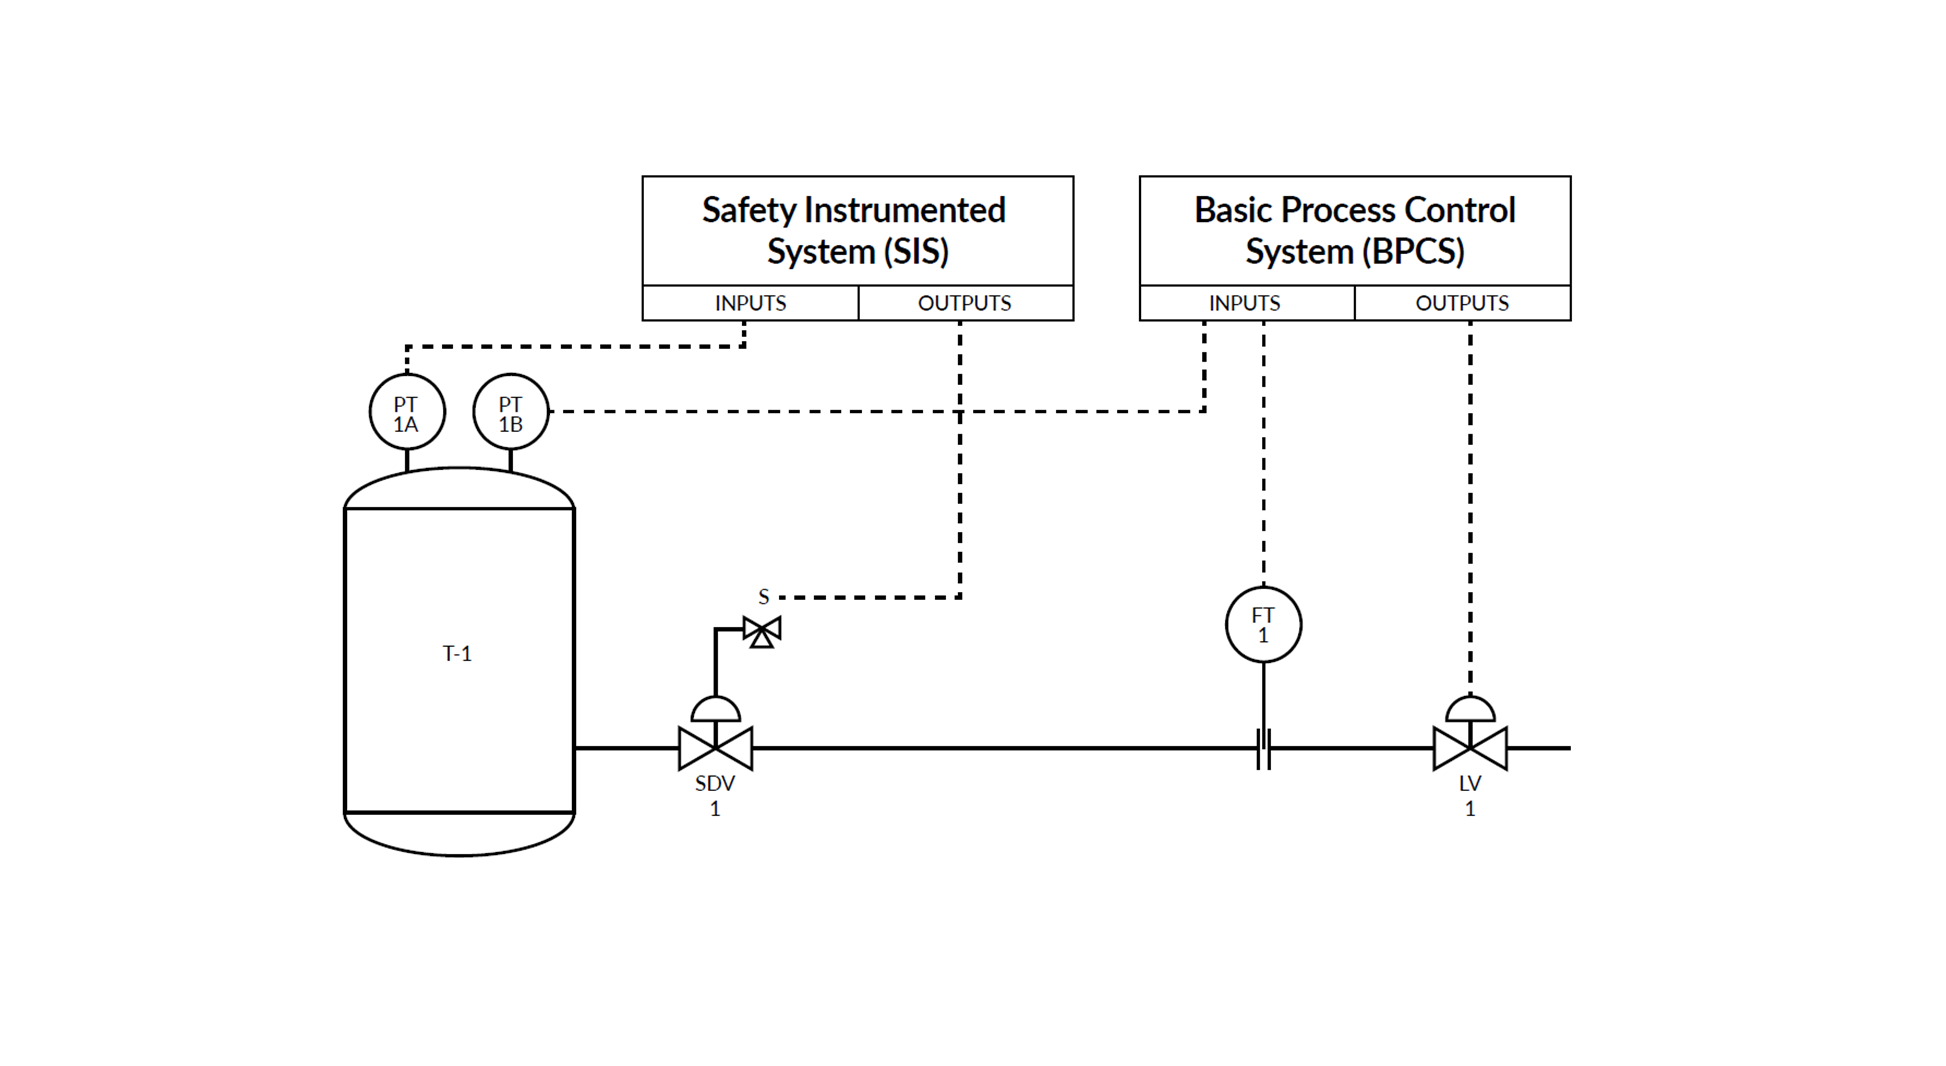
Safety pressure switches
Safety switches are switches used in the safety instrumented systems (SIS), and these switches have certain safety classifications. Also, the calibration of these safety switches is regulated.
A big difference with these switches is that these switches stay static most of the time without ever functioning. So, they don’t toggle open and closed in normal usage, they are just waiting if the safety alarm level is met, and then they operate.
As these switches very rarely operate, there is a risk that they will get stuck and not work when they should.
When calibrating, do not exercise these safety switches prior to calibration, instead capture the very first point when the switch operates. It can happen that the first operation requires more pressure than the operations after a few exercises.
Normal switches are typically exercised a few times before calibration, but that should not be done for the safety switches.
In a safety switch, the operation point is critical, but often the return point is not that relevant and may not even require to be calibrated.
How to calibrate pressure switches
Now, let’s (finally!) discuss how to calibrate pressure switches.
Preparations & safety
If the switch is installed in the process, it is very important to make sure it is isolated from the pressure line. You also need to make sure to disconnect any circuit that the switch is controlling - you don’t want big valves to start opening/closing, or pumps to start operating, nor generate a safety alarm.
Some switches may have mains voltage, or another dangerous voltage, across the switch terminals when they open, so make sure that it is isolated.
Pressure ramp
To calibrate a pressure switch you need to provide a slowly changing pressure ramp, moving across the operating points of the switch. Depending of the switch type, you need to first supply a suitable pressure to start the calibration.
Often you can start from atmospheric pressure, but in some cases, you need to pump a high pressure and start slowly decreasing the pressure towards the operation point. Or you may need to provide a vacuum to start from. This depends on the switch to be calibrated.
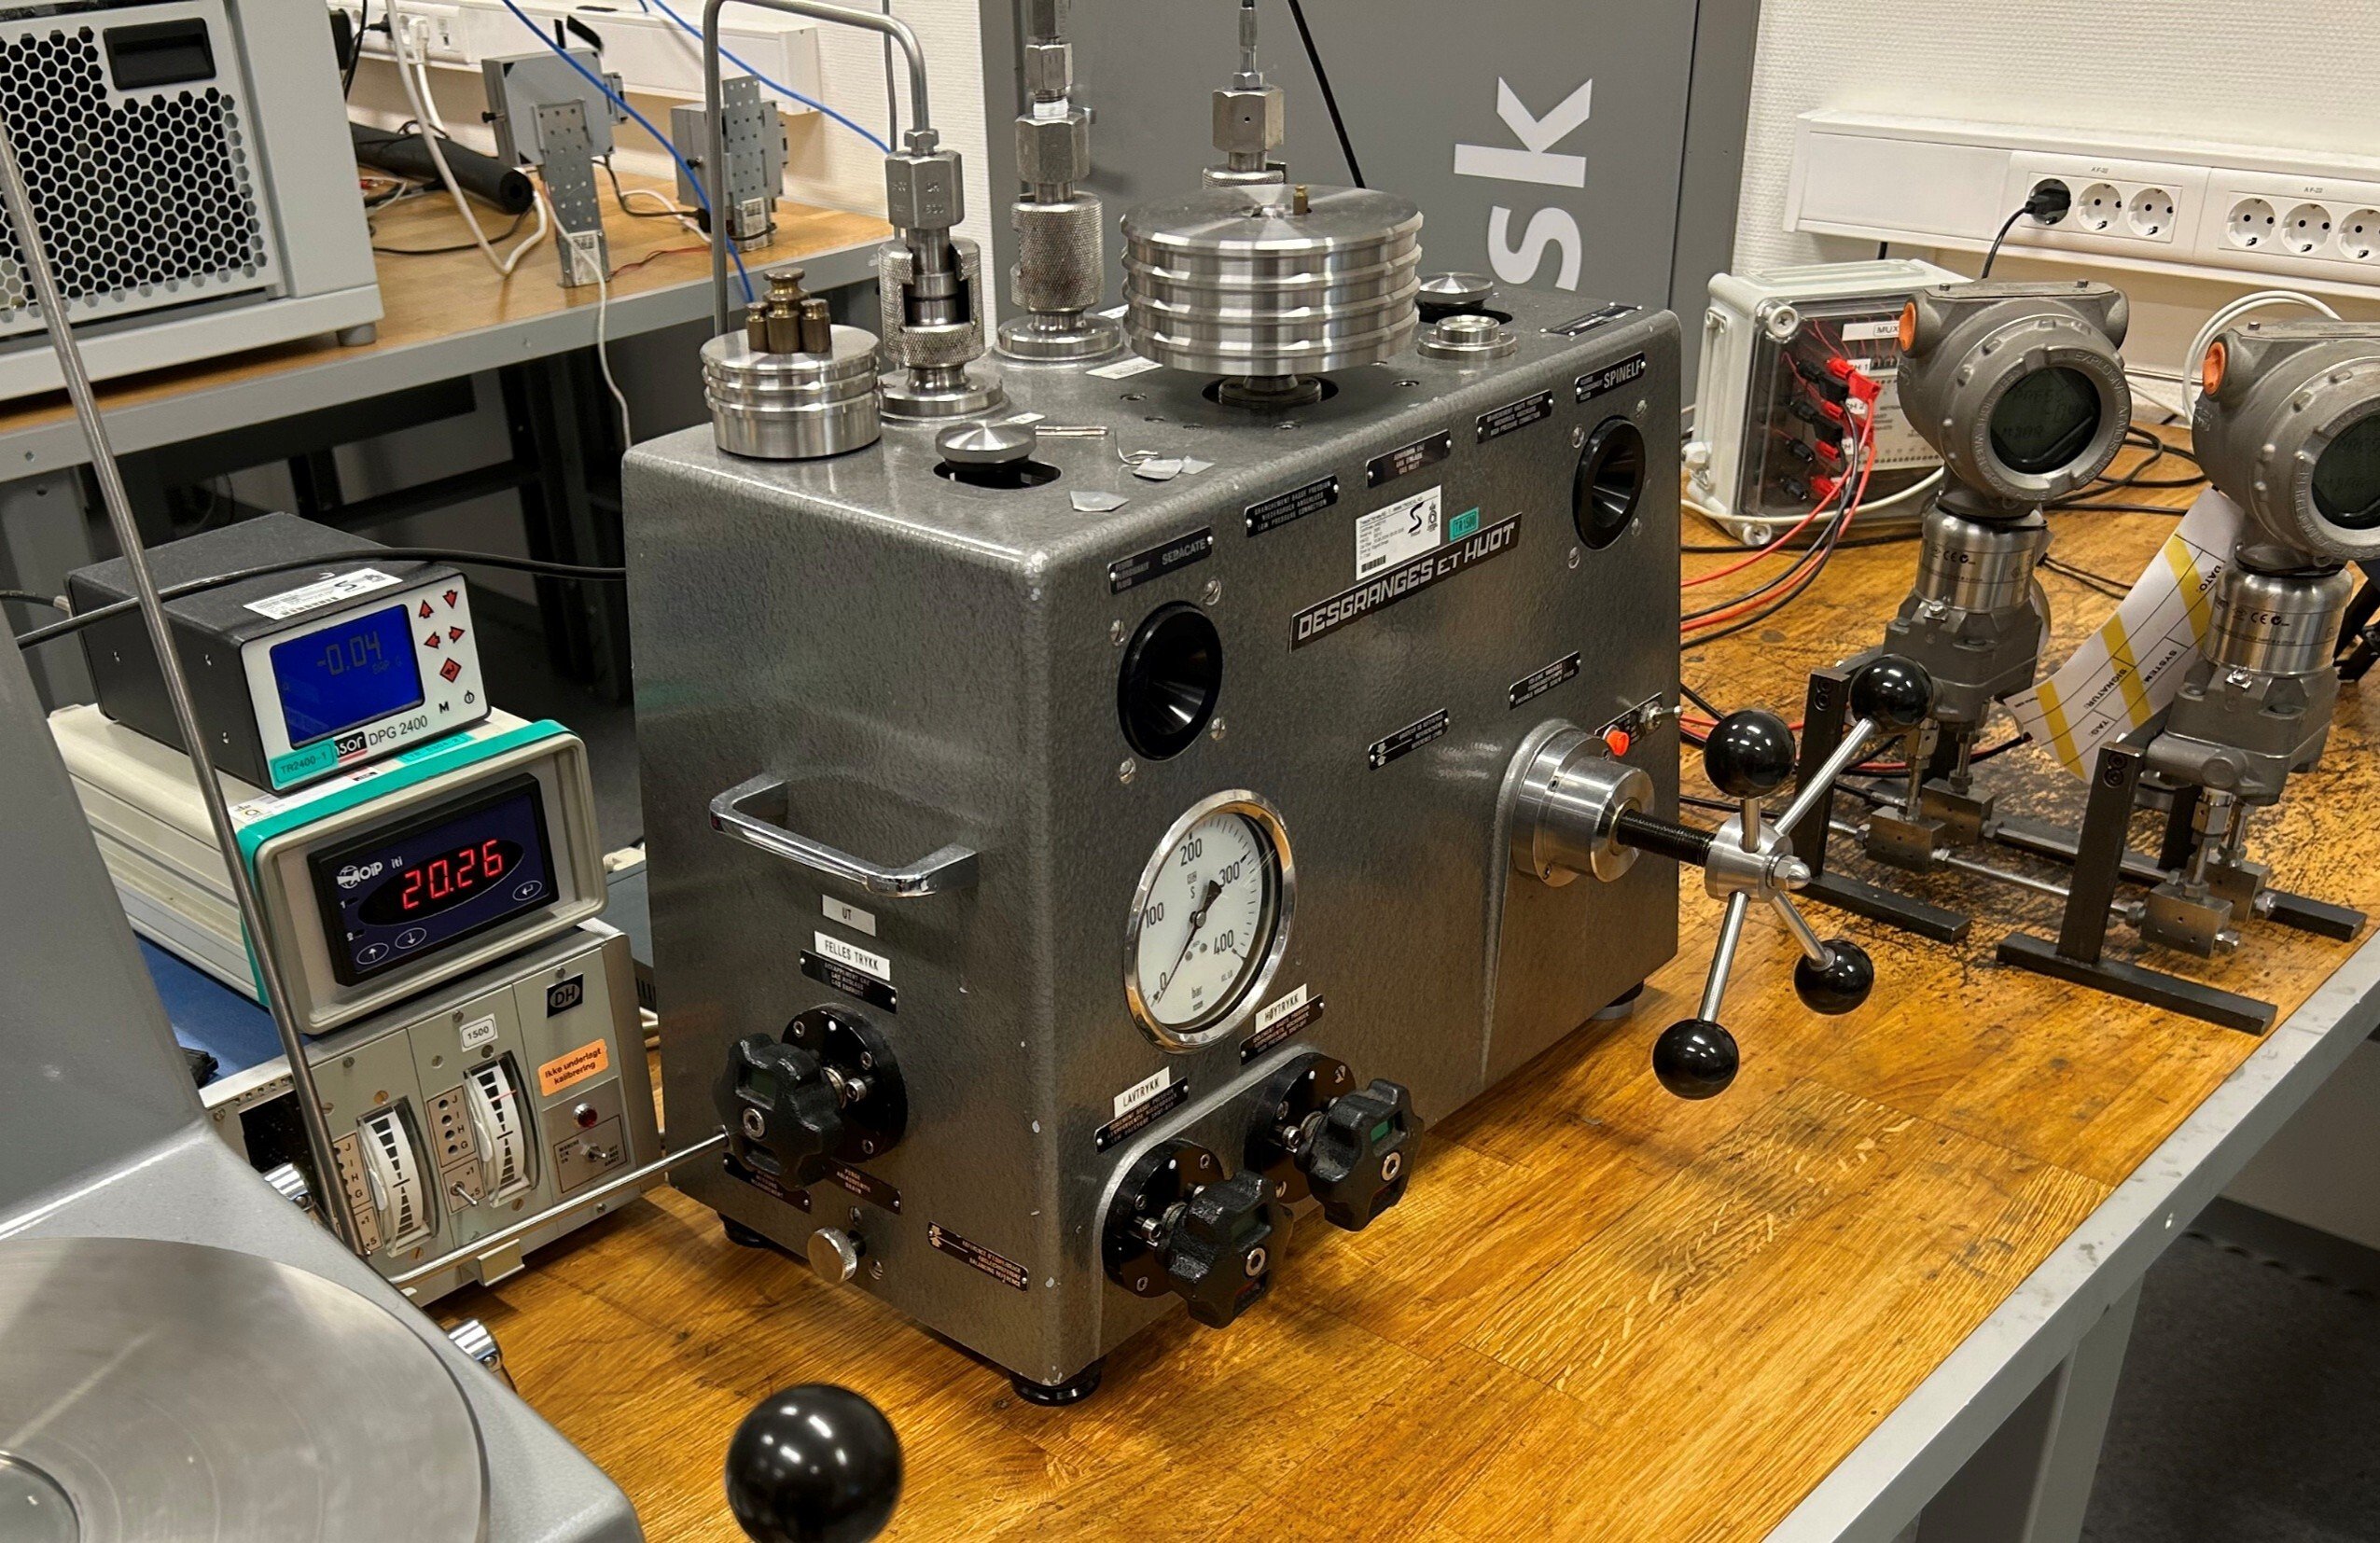
There are different ways to provide the input pressure. You can use a calibration hand pump with a fine adjustment control, you may use shop air supply with a precise pressure controller, or you can use an automatic pressure controller.
It is vital to provide a slow pressure ramp so that you can see the precise pressure whereby the switch operated. If the pressure changes too quickly, you cannot accurately capture the pressure point when the switch operated.
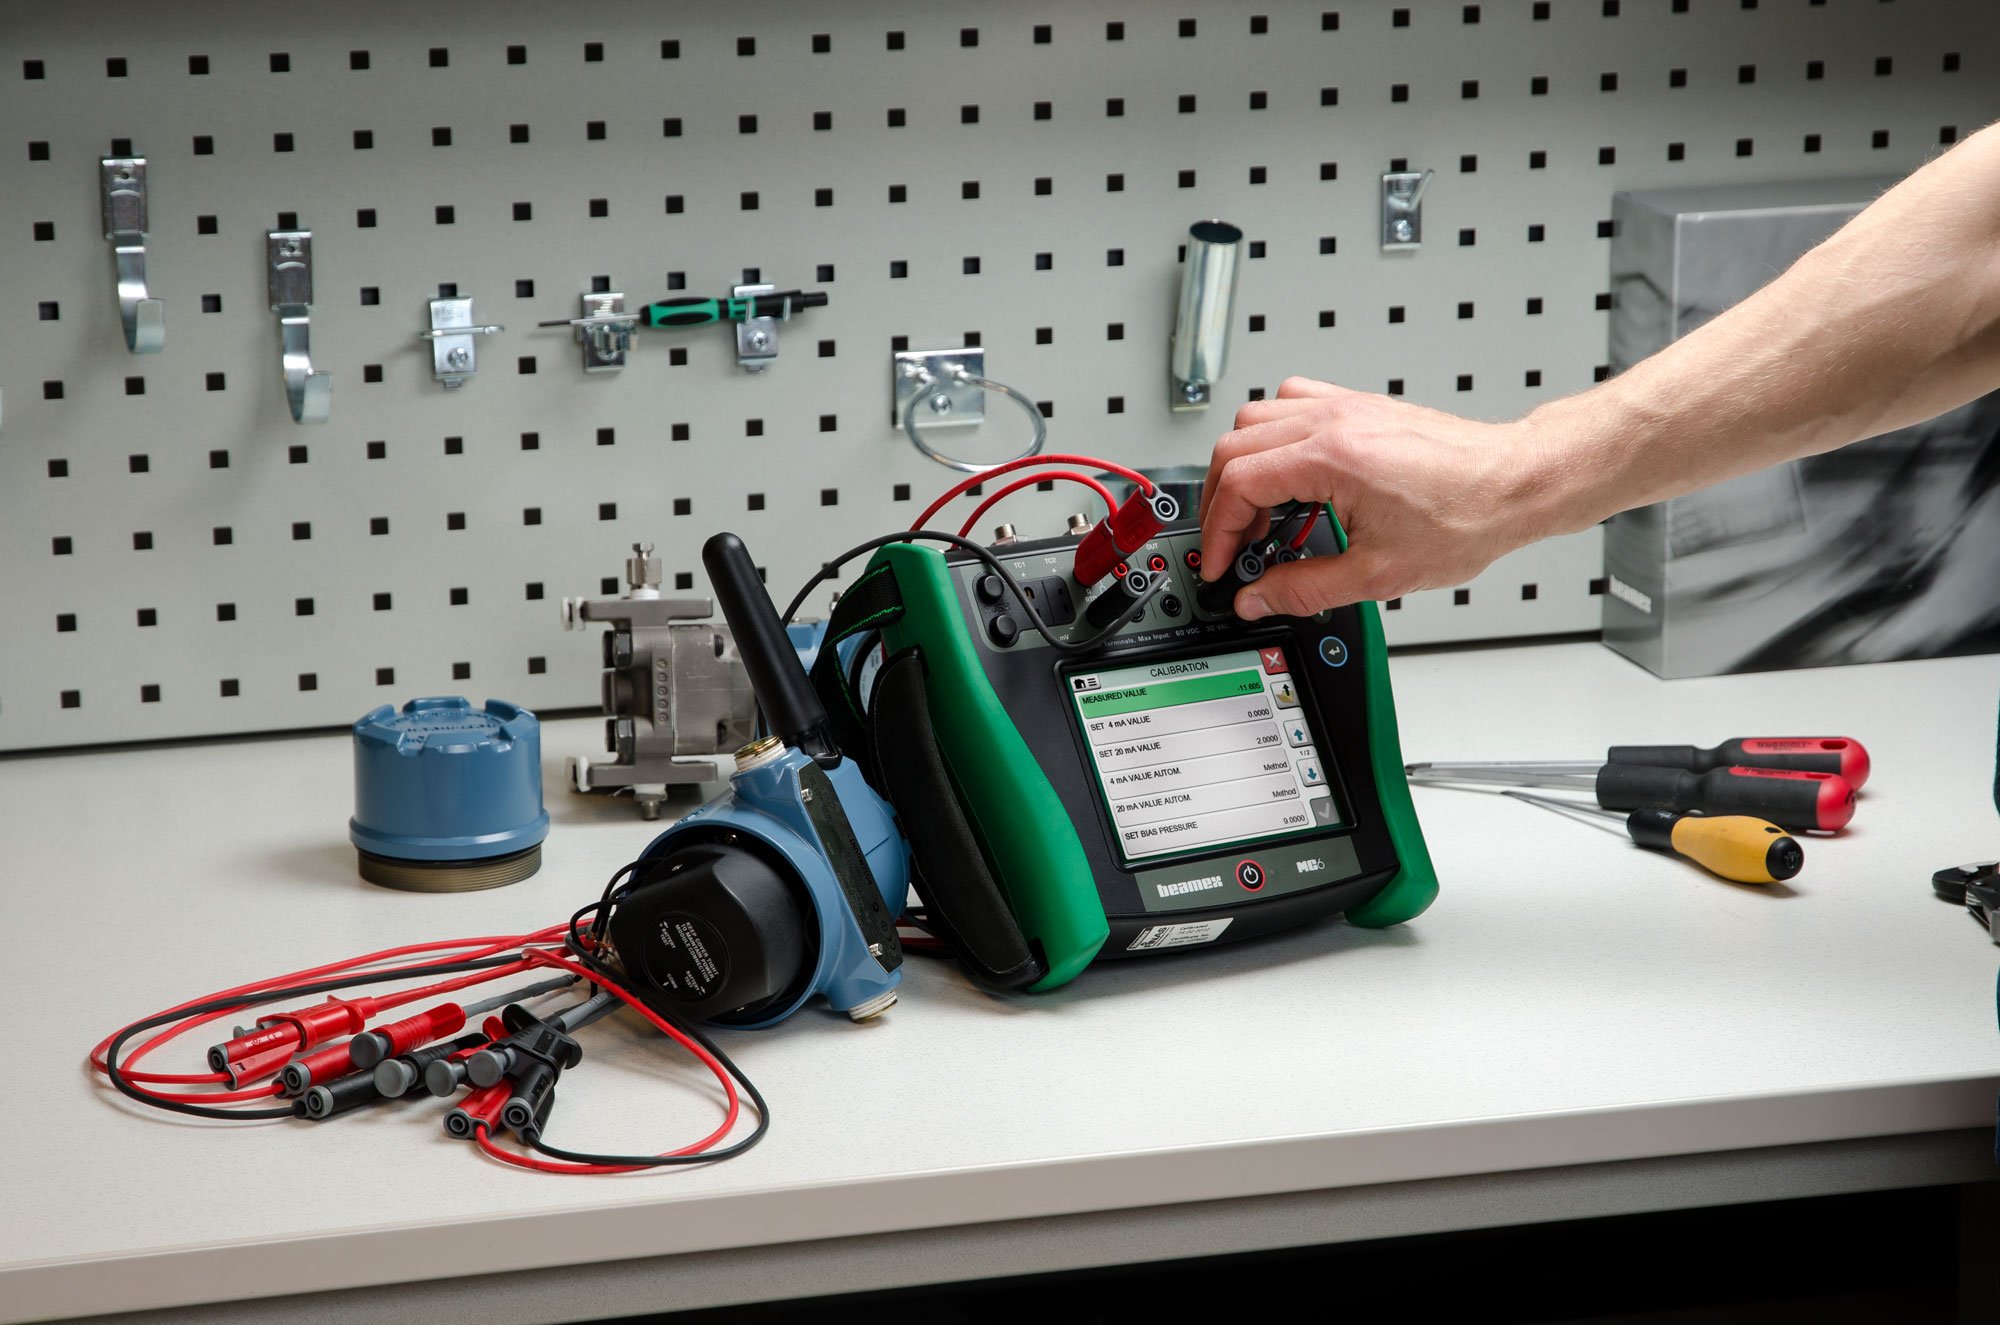
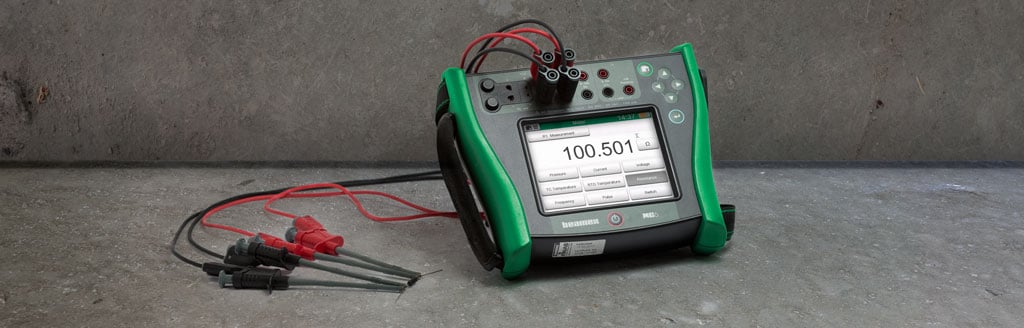
Certainly, some tools (like the Beamex MC6) can automatically capture the exact pressure during the very moment when the switch changed its status.
Anyhow, remember to change the pressure very slowly when you are approaching the operation points of the switch! You may change the pressure faster when you are not yet close to the operation points.
Measuring the switch output
You need some tool to measure the switch terminals. If it is a dry switch, with an open and close output, you may use an Ohm meter. If the output is electrical, you will need to find a tool that can measure the output. In some cases, it may be a voltage meter, or current meter. For electrical outputs, it is sometimes a bit difficult to find how to measure the output. You should anyhow be able to recognize the two states of the output and to see when the state changes.
With some tools, you can program a trigger level that suits the switch in question which enables the status change to be captured automatically. This is how the Beamex MC6 works.
Capturing the operation points
In the switch calibration, you need to capture the input pressure at the very moment when the output state changes.
You can try to capture the input pressure manually, e.g. when the switch state changes, you stop the ramp and look what is the input pressure (on the device/calibrator that is measuring the input pressure). Most likely there is some delay in your reflexes, so the pressure is already different than what it was during the switch operation moment. That is the main reason you should provide a very slow input pressure, so it has not changed that much during the delay of your reflexes.
Some devices can capture the input pressure automatically at the very same moment when the switch output changes its state. Needless to say, the Beamex MC6 family of calibrators can do that… :-)
The MC6 can interpolate between the pressure measurement readings. Let me explain; a digital pressure measurement device measures the pressure a few times every second. It may happen that the switch operates in between the two consecutive pressure measurement readings. In that case, the MC6 looks at the time stamp of the switch operation and interpolates between the two consecutive pressure measurement results to get the exact pressure value during the switch operation moment.
Delayed output
Some industrial switches may have a delay added to the output so that it does not work too quickly. You should find out if your switch has delay as then the calibration needs to be done even slower than normally.
With some added delay, by the time the output toggles, the input pressure is already far away from the point that actually triggered the output to toggle.
Steps in pressure switch calibration:
Here’s a condensed list of steps in pressure switch calibration:
- Depressurize & disconnect for safety.
- Connect the pressure source and the pressure calibrator to the switch input.
- Connect the device to measure the switch output status.
- Exercise the switch a few times - pump full pressure and back to zero. Not with safety switches!
- Pump normally pressure close to operation point.
- Move pressure very slowly across the operation point, until the switch output toggles. Record the operation pressure.
- Move pressure very slowly towards the return point, until the switch status toggles. Record the return pressure.
- Make required number of repeats - repeat the two previous steps.
- Vent pressure.
- Disconnect the test equipment.
- Return switch back to service.
Naturally, you need to document the switch calibration results.
Also, you need to calculate the errors found in the calibration and compare that to the max allowed tolerance for that switch to see if it Passed or Failed calibration. In the case of the switch failed the calibration, then you need to either adjust the switch or replace it. Even if it passes the calibration, you should still analyze how big the error was. If the error was close to the tolerance limit, or if it had drifted much since last calibration, it is good to adjust it to avoid a fail result in the next calibration.
And as with every calibration, based on the calibration result history, you should consider if the calibration period should be changed. You don’t want to waste resources on calibrating it too often, but also you don’t want to calibrate it so seldom that you get a failed calibration result. A failed calibration result should anyhow always start an investigation of the consequences. This can be expensive and work intensive.
More discussions on how often instruments should be calibrated can be found in this blog post:
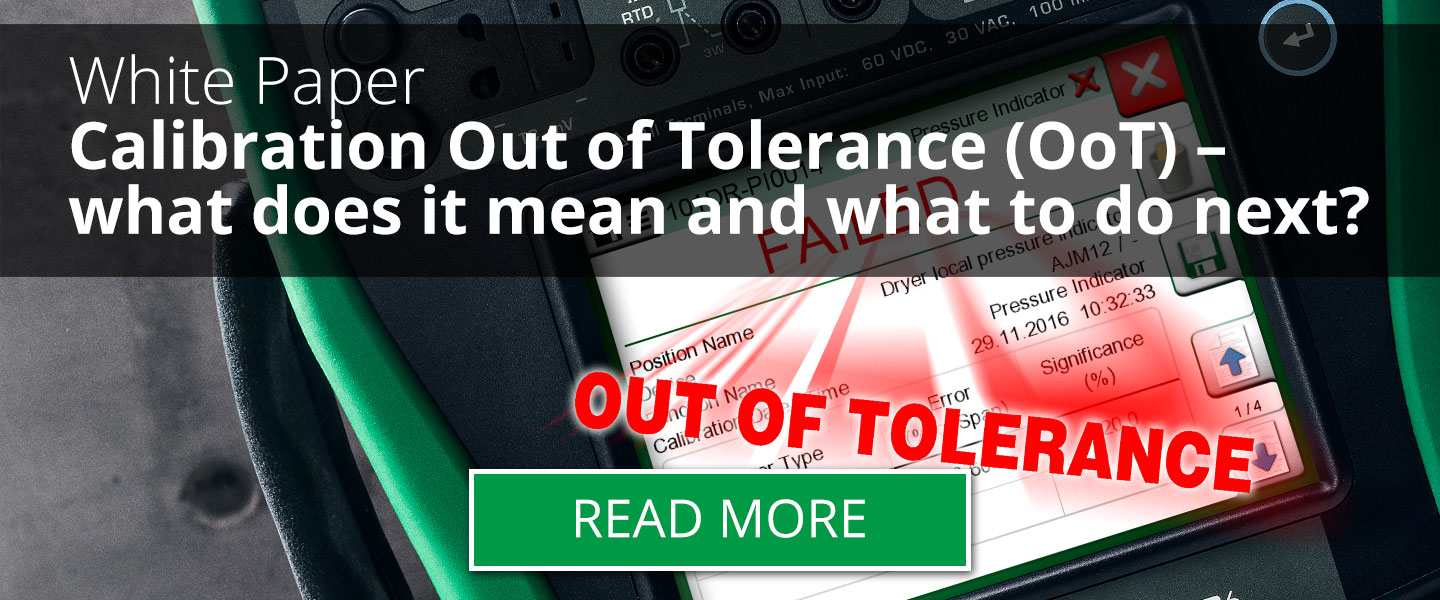
And discussions on Fail and Pass calibration can be found here:
Documentation, metrological traceability, calibration uncertainty
As documentation is included in the formal definition of calibration, it is a vital part of every calibration. This is also valid in pressure switch calibration. Typically, in the form of a calibration certificate.
The calibration equipment used should have a valid metrological traceability to the relevant standards, otherwise the calibration does not ensure traceability in the switch calibration. More info on metrological traceability can be found here:
The calibration uncertainty is a vital part in every calibration. If the calibration equipment (and calibration method and process used) is not accurate enough for the pressure switch calibration, then the calibration does not make much sense. I mean, what’s the point to use a 2% accurate calibrator to calibrate a 1% accurate instrument.
Learn more about calibration uncertainty here:
We also have one older blog post that includes a short video on pressure switch calibration here:
Download this article
Click the below picture to download this article as a free pdf file:

Pressure Calibration eLearning
Free eLearning course on industrial pressure calibration.
Master pressure calibration with this free comprehensive eLearning course from Beamex. Deepen your knowledge, pass the quiz, and earn your certificate!
Beamex solution for pressure switch calibration
As you would guess, Beamex offers solutions for pressure switch calibration.
View all our pressure calibrators >>
Our MC6 family of calibrators can perform documented pressure switch calibrations, either semi-automatically with a calibration pump, or fully automatically with a pressure controller.
You can upload the pressure switch calibration results from calibrator to calibration management software for paperless documentation.
Please contact us learn more:

.png)


.jpg)
Discussion